Your Cart is Empty

sprouthouse
instruction manual

sprout safely
Follow these important steps to ensure your sprouts are safe to consume.
The surface of seeds can contain natural pathogens which can cause bacteria growth when grown incorrectly. Just as sprouts like to grow in warm humid climates, so do certain types of bacteria such as e-coli. For this reason, the NSW food authority recommends that at-risk groups including pregnant women, children under the age of five, people over the age of 70, or immunocompromised people do not consume sprouts.
It should be noted that even in the most sanitary conditions, there is still a risk of bacteria growth in sprout modules.
If possible, use filtered water when rinsing sprouts. The cleaner the water the safer the product.
If you miss any of these steps or your sprouts look or smell a little strange, please dispose of them and start again.
In general you should avoid:
Any sprout that is dark & smells musty.
Touching sprouts with unsanitised hands or tools while they are still growing. If you really need to touch your sprouts while they’re still growing, we recommend using a clean fork.
Any standing water in your sprout basin. Bacteria love moist environments so make sure you allow all the water to drain from your sprouts.
Eating uncooked sprouts if you are one of the at-risk groups identified previously. Steaming or sautéing your sprouts will help kill off any harmful bacteria that might be growing.
Look out for:Small, odorless, white hairs growing from your sprout roots - these are likely to be cilia hairs, which are totally harmless but are a sign that the roots are dehydrated. Soaking the sprouts in cool water for 15 minutes should get rid of them.
Dark growth with an unpleasant odor and slimy texture - this is likely to be mould. If your sprouts are mouldy, dispose of them and start a new batch.
how many seeds do I need?
Use these tables as a guide for the amount of seeds you will need to grow a full basin of sprouts.
Sprouts
Broccoli: 2 tbsp.
Red cabbage: 2 tbsp.
Onion: 3 tbsp.
Peas: 5 tbsp.
Mung beans: 3 tbsp.
Fenugreek: 3 tbsp.
Kale: 2 tbsp.
Alfalfa: 1 tbsp.
Microgreens
Broccoli
Red cabbage
Onion
Peas
Mung beans
Fenugreek
Kale
Alfalfa
sanitise your seeds first
Before you start growing, you’ll want to make sure that the growing environment for sprouts is as clean as possible. There are two main ways you can clean your seeds to reduce this risk:
Using hydrogen peroxide
Pour 3% hydrogen peroxide (available at most chemists) into a saucepan, ensuring there is enough to cover all the seeds.
Heat to 60° Celsius. Add your seeds to the Speedy Sprouter, and pour in the hydrogen peroxide solution.
Swirl the basin at 1-minute intervals for 10 minutes to achieve uniform treatment. Do not re-use the hydrogen peroxide solution as it will be less effective each time you use it. Drain the solution and proceed to growing instructions.
Using vinegar:
Soak the seeds to be sprouted, and the Speedy Sprouter basin in undiluted store-bought vinegar for 15 minutes. Ensure there is enough vinegar to cover all of the seeds. Drain the solution and proceed to growing instructions.
how to grow sprouts
Step 1
Sanitise seeds and basin as explained above.

Step 2
Setup the sprouter as pictured, with the plug attached, mesh inserted, compression tray aside, and lid open.

Step 3
Add seeds on top of the mesh. You can find the amount of seeds required for different kinds of sprouts above.

Step 4
Fill with water, and attach the lid – leave these seeds to soak overnight. Note that the seeds will expand, so leave some space so that they don’t overflow!

Step 5
Drain water by removing the plug from the bottom of the sprouter.

Step 6
Flip the sprouter upside down and rinse seeds with water through the drainage hole. Flip back over to let the water out, and re-plug the basin.
Rinse and drain 2-3 times daily until your sprouts have grown to adequate size.

Step 7
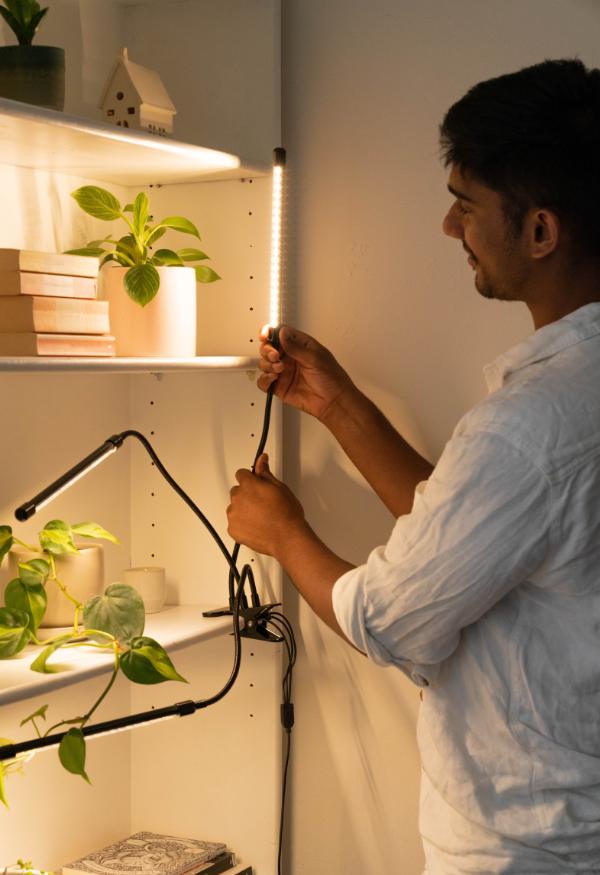
Sprouts can be placed in sunlight (or LED light) to help them photosynthesize and turn green – developing a richer flavour.
The sprouter kit can be put in the fridge to extend the life of plants if required.

how to grow microgreens
Step 1
Sanitise seeds and basin as explained above.
Step 2
Setup the sprouter as pictured, with the plug attached, mesh inserted, compression tray aside, and lid open.
Step 3
Scatter seeds over the mesh. The seeds will expand as they absorb water, so leave enough space between seeds for them to grow to 150% of their original size.
Step 4
Fill water as seen in the image, and attach the lid. Leave these seeds to soak overnight, allowing for space for the seeds to expand.

Step 5
Drain water by removing the plug from the sprouter and reinsert the plug.

Step 6
Spray sprouts generously until all seeds are wet and there are visible droplets on their surfaces.

Step 7
Place the compression tray over the seeds as seen in the image. Place the lid back on.

Step 8
Repeat steps 7-9 twice daily, draining out water by removing the plug if there is ever excess in the drainage basin.
After 2-5 days the seedlings will have germinated.

Step 9
After 7 days most seeds will have started lengthening and and will start pushing the compression tray upward.
At this point the compression tray can be removed and tucked away underneath the basin using its built-in magnets (as seen in figure).

Step 10
From this point on, the seeds should have roots growing through the mesh – meaning you can just pour water into the basin (below the level of the seeds), so that your seedlings can drink water through their roots.
The seedlings can be placed under LED light or sunlight to strengthen them up and develop a green colour and strong flavour.

Step 11
Harvest by cutting with a knife close to the mesh.

Step 12
Clean the mesh and re-use after sanitising.